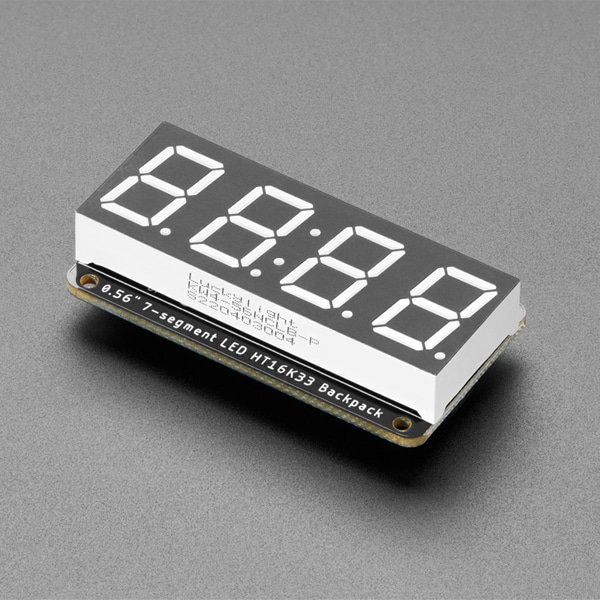
0.56 인치 4 자리수 7세그먼트 디스플레이 -I2C, 빨강
(Assembled Adafruit 0.56 inch 4-Digit 7-Segment Display
- w/ I2C Backpack STEMMA QT - Red)


개요
- 본 제품은 0.56 인치 4 자리수 7세그먼트 디스플레이 -I2C, 빨강 입니다.
- I2C 인터페이스를 통해서 4자리수 7세그먼트 디스플레이를 제어할 수 있습니다.
특징
-
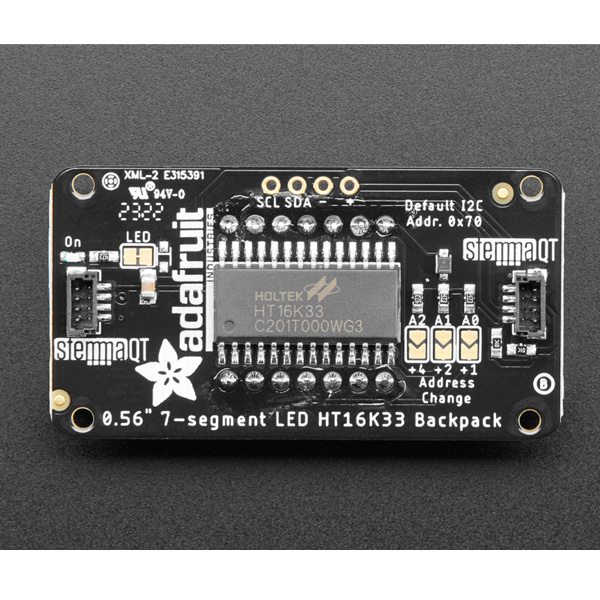
This board/chip uses I2C 7-bit address between 0x70-0x77, selectable with jumpers
- Backpack Dimensions: 50.0mm x 26.7mm x 6.0mm / 2.0" x 1.1" x 0.2"
- 7-Segment Display Dimensions: 19mm x 50mm x 14mm / 0.75" x 2" x 0.56"
- Overall weight: 14.5g
-
What's better than a single LED? Lots of LEDs! A fun way to make a small display is to use an 8x8 matrix or a 4-digit 7-segment display. Matrices like these are 'multiplexed' - so to control all the seven-segment LEDs you need 14 pins. That's a lot of pins, and there are driver chips like the MAX7219 that can control a matrix for you but there's a lot of wiring to set up and they take up a ton of space. Here at Adafruit we feel your pain! After all, wouldn't it be awesome if you could control a matrix without tons of wiring? That's where these adorable LED matrix backpacks come in. We have them in two flavors - a mini 8x8 and a 4-digit 0.56" 7-segment. They work perfectly with the matrices we stock in the Adafruit shop and make adding a bright little display trivial.
The matrices use a driver chip that does all the heavy lifting for you: They have a built-in clock so they multiplex the display. They use constant-current drivers for ultra-bright, consistent color (the images above are photographed at the dimmest setting to avoid overloading our camera!), 1/16 step display dimming, all via a simple I2C interface. The backpacks come with address-selection jumpers so you can connect up to four mini 8x8's or eight 7-segments (or a combination, such as four mini 8x8's and four 7-segments, etc) on a single I2C bus.
The product kit comes with:- A fully tested and assembled LED backpack with a pre-soldered ultra-bright 4-digit 0.56" tall red seven-segment display
- 4-pin header
To get you going fast, we have revised this popular board to be the same size and pinout as before but now with two STEMMA QT connectors on either side that are compatible with the SparkFun Qwiic I2C connectors. This allows you to make solderless connections between your development board and the HT16K33 or to chain it with a wide range of other sensors and accessories using a compatible cable.
Of course, in classic Adafruit fashion, we also have a detailed tutorial showing you how to solder, wire, and control the display. We even wrote a very nice library for the backpacks so you can get running in under half an hour, displaying images on the matrix or numbers on the 7-segment. If you've been eyeing matrix displays but hesitated because of the complexity, this is the solution you've been looking for!