라즈베리 파이 게임컨트롤러 Picade X HAT USB-C
(Picade X HAT USB-C)
개요
- 라즈베리 파이를 레트로 게임 콘솔로 변경하여 보십시오.
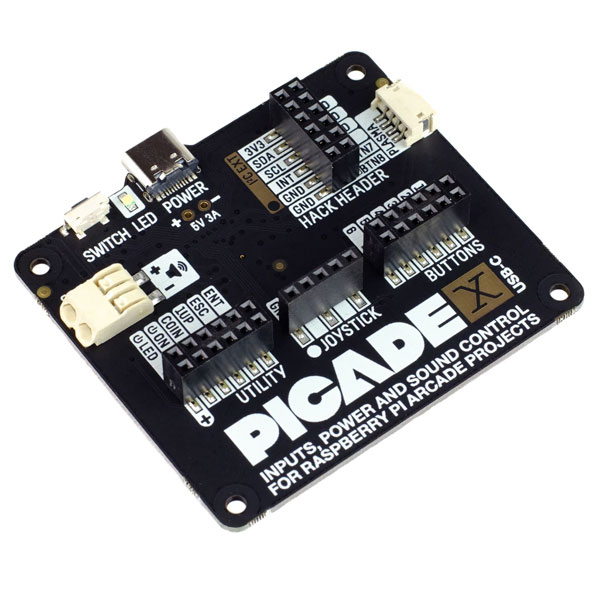
- 본 제품은 조이스틱과 버튼 입력, 3W I2S DAC/앰프, 소프트 파워스위치, USB-C 전원을 지원하는 Picade X HAT 보드입니다.
- 기존 Picade HAT과 동일하지만 female 커넥터를 가지고 있어 조이스틱 및 버튼을 쉽게 점퍼와이어로 연결이 가능합니다.
- 라즈베리 파이에 꼽고 HAT보드의 USB C 를통해 전원을 공급하여 사용이 가능합니다.
특징
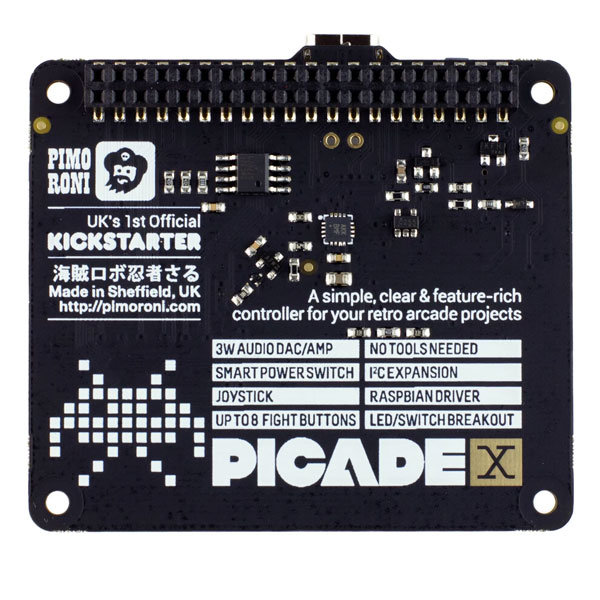
- I2S audio DAC with 3W amplifier (mono) and push-fit terminals
- Safe power on/off system with tactile power button and LED
- USB-C connector for power (back-powers your Pi)
- 4-way digital joystick inputs
- 6x player button inputs
- 4x utility button inputs
- 1x soft power switch input
- 1x power LED output
- Plasma button connector
- Breakout pins for power, I2C, and 2 additional buttons
- Picade X HAT pinout
- Compatible with all 40-pin Raspberry Pi models
-
The I2S DAC blends both channels of digital audio from the Raspberry Pi into a single mono output. This is then passed through a 3W amplifier to power a connected speaker.
The board also features a soft power switch that allows you turn your Pi on and off safely without risk of SD card corruption. Tap the connected button to start up, and press and hold it for 3 seconds to fully shutdown and disconnect power.
-
Simply pop Picade X HAT onto your Pi, plug a USB-C power supply into the connector on the HAT (it back-powers your Pi through the GPIO, so no need for a separate power supply), wire up your controls, and install our driver! It's ideal for your own DIY arcade cabinet builds, or for interfaces that need big, colourful buttons and sound.
We'd recommend also picking up one of our new Picade wiring looms to go with Picade X HAT. It has all the cables you'll need to connect up buttons and a joystick (with 5-pin connector) to Picade X HAT.
문서
-
Software
We've put together a simple one-line installer that'll get everything set up on your Picade X HAT, the controls, safe shutdown, and audio. Open a terminal and type curl https://get.pimoroni.com/picadehat | bash to run the installer. You'll need to reboot once the installation is complete, if it doesn't prompt you to do so.
Our software does not support Raspbian Wheezy
Notes
With USB-C power connected through Picade X HAT you'll need either to tap the connected power button or the button marked "switch" on the HAT to power on your Pi.