Digispark Pro ATTINY167 개발보드 -아두이노 IDE
(Digispark ATTINY167 Pro Development Board)
개요
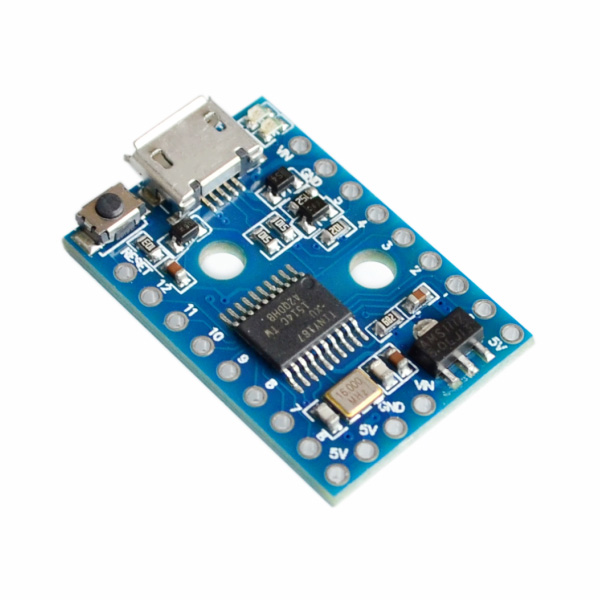
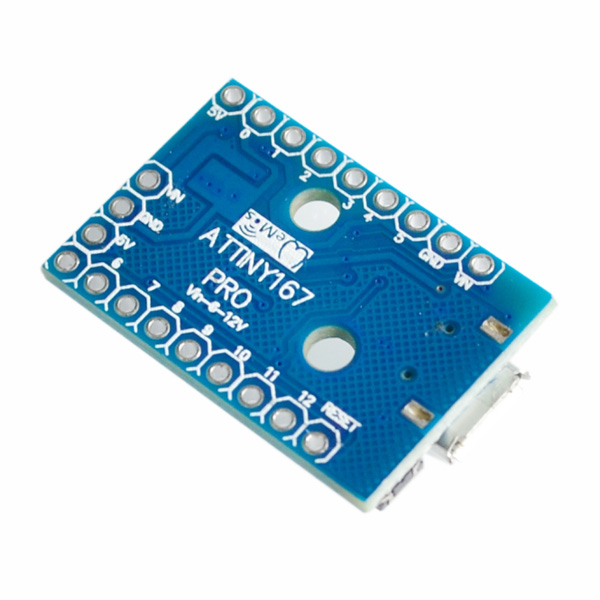
- 본 제품은 Digispark Pro ATTINY167 보드입니다.
- 작은 크기의 제품으로 아두이노 IDE를 사용할 수 있으며, USB를 통해 프로그래밍이 가능합니다.

특징
- 1. Compatible with Arduino IDE 1.5 (OSX/Win/Linux)
2. Fully signed drivers and executable for easy installation
3. USB programming, USB device emulation, USB-CDC virtual serial port emulation
4. 16 MHz AVR MCU - using a true 16Mhz precision crystal
5. 16KB Flash Memory (14.5K+ after bootloader)
6. Serial over USB debugging and communication!
7. 14 I/O Pins (2 shared with USB)
8. I2C, true SPI, UART, LIN, and USI
9. ADC on 10 pins
10. 3 PWM Channels (which can be assigned to a selection of pins)
11. Power via USB, or External Source - 5v or 6-16v (automatic selection)
12. On-board button that can be used as a reset, program, or user button - or can be disabled
to use that pin as general i/o - without changing the bootloader
13. On-board 150mA 5V regulator
14. Power LED and Test/Status LED (on Pin 1)
15. User accessible solder jumpers to disable LEDs, and other features for lower power consumption
16. Two mounting holes.
17. Breadboard compatible pin out/spacing (the three side header pins are only for legacy shield support).
문서
- Digispark Pro - tiny, Arduino ready, mobile & usb dev board!
-
Instructions, tutorials, etc:Sources:Software:
-
Read learn more about the specifications andread here what you can do with it and how to start.
Dimensions: 26.7mm x 18.3mm x 4mm
Note: This Digispark Pro is not original from DigiStump, but it is the same as the original version.
Upload manual with the Arduino IDE:
For the correct driver, install the "Digistump.Drivers.zip" from this link. Unzip the file before installing the drivers (with "Install Drivers.exe"). If this doesn't work, try "DPinst64.exe" or "DPinst.exe".
Check out this link for a detailed installation guide that also describes how to add the Digispark board to the board manager.
Here's a brief explanation on how to upload:
- Connect the DigiSpark Pro to the PC/laptop.
- Enter a code or use an example from the installation guide above.
- Select the right board: Tools -> Board -> "Digispark (Default - 16mhz)"
- Note: It is not necessary to select a COM-port (any COM-port will do).
- Upload the code. Wait for about 3 seconds. Remove the USB-cable from the DigiSpark. Reconnect the cable after about 3 seconds.
- The code should be uploaded within approximately 10 seconds (depending on the selected upload speed).